
Project SKIPPER – The Hole Conundrum
Welcome back! My apologies for the epic delay in getting this out, first a few things in life got in the way. Then the new Hitman game came out! And we all know how much I love a Hitman game.
Before we crack on let us have a little recap on what’s gone down so far. In a nutshell I have completed step one in my 3 point plan – wire controls up to Pi. Now I have to conquer step 2 – build a cocktail cabinet. How hard can that be? Turns out extremely hard, that’s how hard that can be.
When you look at a cocktail cab it does not appear to pose all that much of a threat. It is essentially a rectangle with a wider lid and a control deck on each side. With this in mind I drew up some plans and went to buy some wood.
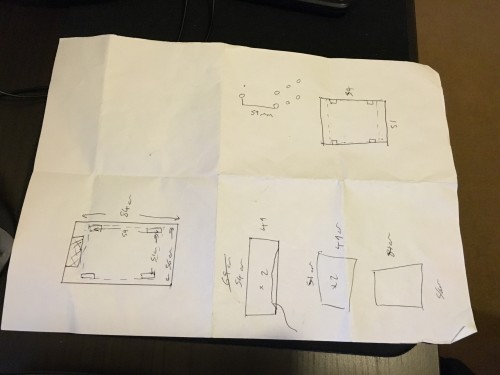
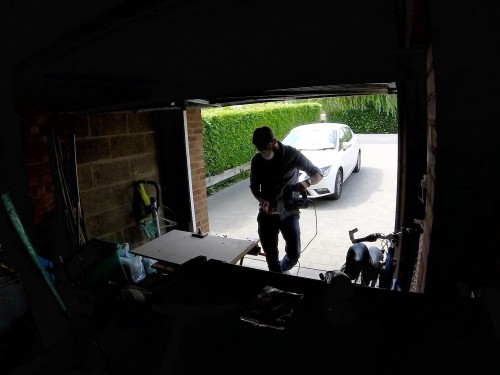
I opted for a large sheet of MDF and got the kind man in the shop to cut it into manageable chunks using his massive wall mounted saw. This was all going to plan and no sooner had the ink dried on the plans, the wood was loaded into the car and transported to my Dads garage. This is where I started to struggle.
You see. When you look at a cocktail cab it does not appear to pose all that much of a threat. It is essentially a rectangle with a wider lid and a control deck on each side. That’s a rectangle with a wider lid that has a monitor smack bang in the middle of it! I was not entirely sure how I was going to cut the hole out of the top to house the monitor. Let alone how the bloody hell I was going to mount the damn thing into said hole. I took to the internet for help. After many images of women in various stages of undress, I found the answer. There is a bracket used to mount LCD monitors into racks. It was perfect! Not only would it mount the monitor where I needed it to be, it was as simple screwing three bits of metal together and bolting them into the top. All for the bargain price of £20.
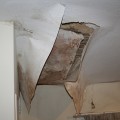
Now I had to overcome the hole conundrum. The done thing here would be to take your plunge router and plunge route a nice monitor shaped window bang in the middle of the lid. One problem – I don’t own a plunge router and those puppies are not cheap. Even if I did own one of the plungey little bastards I sure as hell have no idea how they work. This left me with no choice but to drill out each corner of the window and take a jigsaw to it. Here is where my utter lack of woodworking came shining through. No matter how hard I tried I just could not cut lines as straight as I needed. This was causing a major issue. If I wanted to achieve that “bit of furniture” look I was aiming for, there had to be another way.
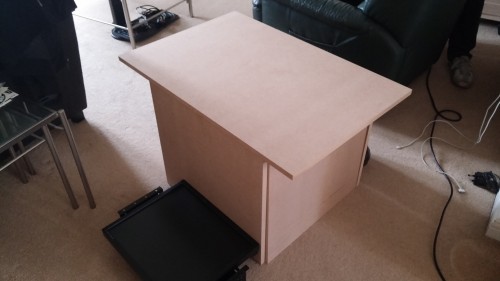
Many months passed. With every failed attempt my wood handling powers increased but I was still falling short of the finish I was so keen to achieve. As the summer gave way to autumn I had managed to produce as close to a perfect top and two control decks as I was ever going to craft with my own two hands. It was still shockingly poor and I was beaten. As I sat in defeat, looking to buy a cabinet off eBay, I stumbled across a lifeline – Plans. Plans that would allow a machine to cut the wood to glorious perfection, lines so straight you could use them to test the straightness of other lines, or something.
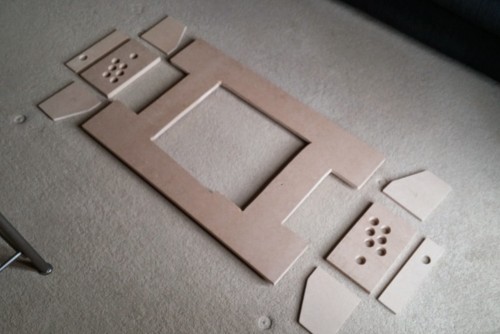
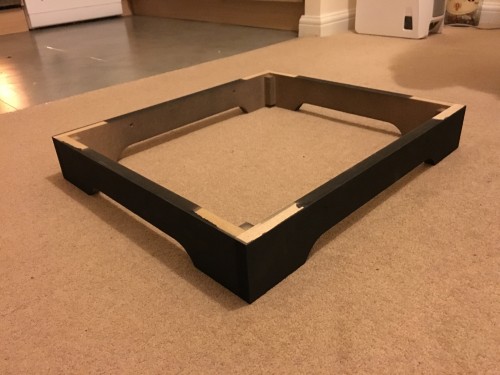
It turns out a CNC milling machine is quite a beast. As you would expect they are expensive and not all that easy to buy. It was now late November and I was deep into the hunt for a man with the right tool to satisfy my wood based needs. As luck would have it the husband of a friend knew just the fella. He hooked us up and we met in a bar to discuss the idea. Huddled over a laptop we revised the plans a little and agreed that it could be done. The MDF was swapped out for black vinyl wrapped chipboard, an access hatch that would also house the coin mech was added and we were away. Come early January I had all the parts I would need, even a cool little plinth thing that would add to that quality finish.
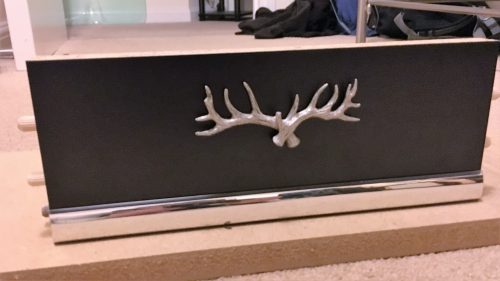
With the machine having done all the hard work I set about mounting the speakers, coin mech and antlers. Yeah that’s right – antlers. The monitor was bolted into its perfectly sized window using the £20 bracket and all the t-moulding edges were glued into place. The edges then all pinged out and where re-glued back into place. This happened more than once. I ordered a Perspex top and it was time to see if it would all go together. Things were progressing so well that I even started to think about the decoration.

Comments are closed.