The Great Build – The Arcade Machine: Part III
Welcome to the third and final part in the exciting trilogy. Make sure you’ve read the first and second parts before continuing!
Part Three: The Making of a Monster
The story so far:
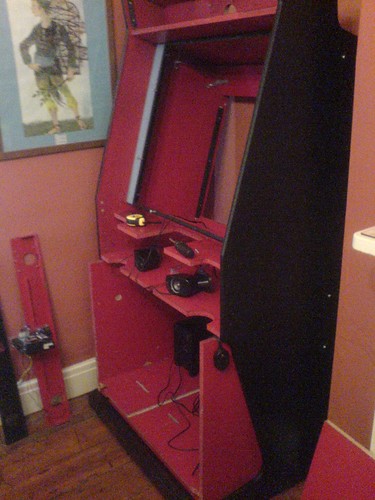
The arcade machine had been bought, transported to Cheltenham, and smashed into pieces. The next step?
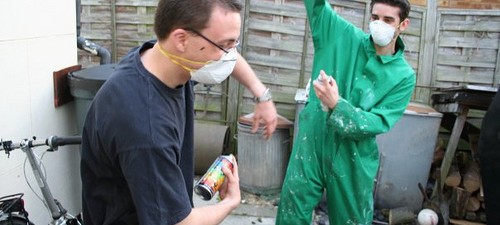
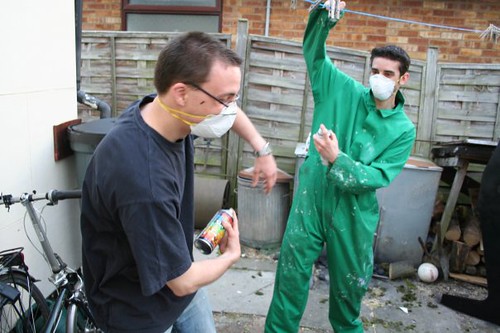
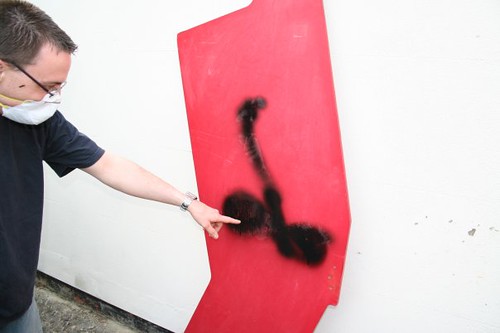
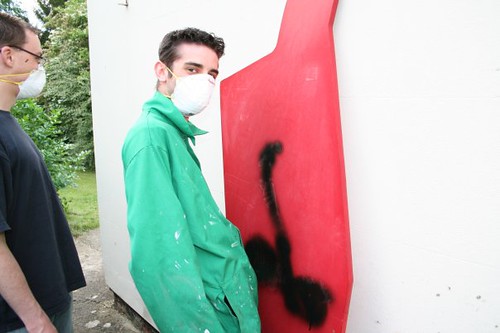
The whole thing was first spray painted black. No more pink for me.
And then:
Reconstruction and repair.
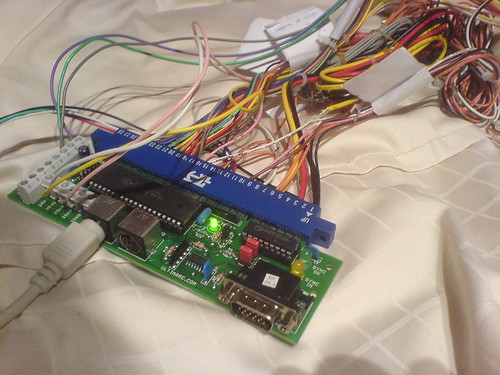
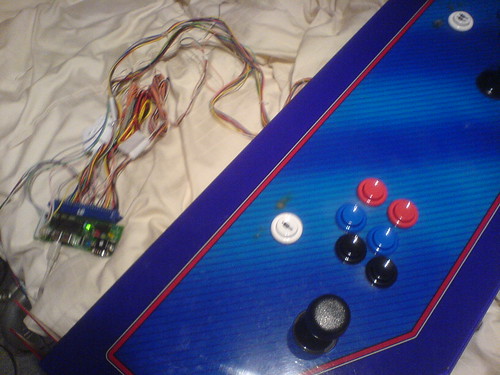
I spent a bit too much money on replacement parts; as well as new buttons, speakers, wiring and crimping tools, I got a piece of hardware called a J-Pac, which is the most important bit! It converts arcade wiring and controls into standard PC Keyboard inputs.
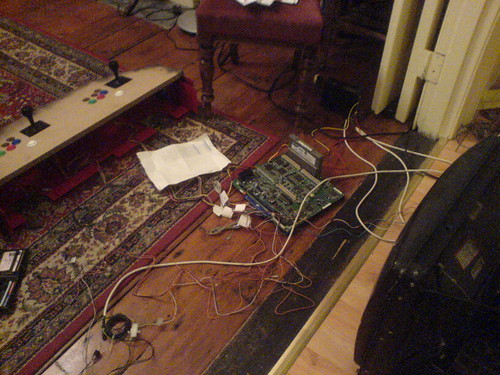
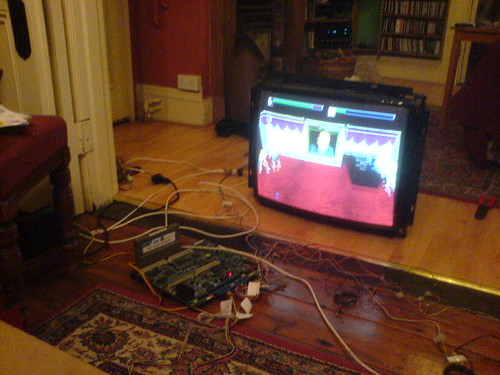
And so then began the reconstruction. After me and Brad had re-plumbed all the new wiring and buttons (in a spooky shed full of SPIDERS!!!) and bodged some wires together for new power switches, we had a brief testing session; we played an original Die Hard Arcade on the innards of an arcade machine, sat on my floor with lots of dangerous electricity.
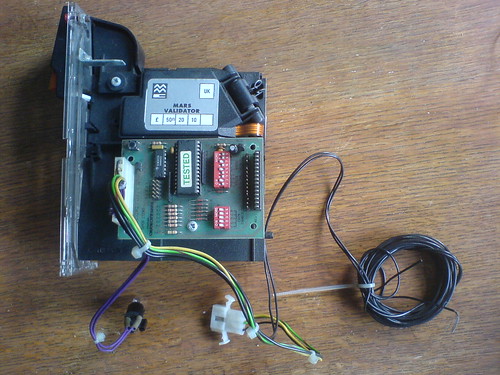
But this was just a first step: the next was to hook up my old PC to the arcade hardware, and this was the tricky bit. I soon had the whole control panel on my bed in front of a PC; a little internet research got the coin mechanism going again.
20p = 1 credit, 50p = 3 credits, £1 = 7 credits. Bargain!
Another piece of software (Soft15khz) was needed that converts a PC’s video output into something that won’t explode an arcade monitor; and after some more tweaking, the thing was ready for another test.
For those who may wonder, here’s a little bit more explanation on how it actually works: the PC is there to run ‘emulators’ – bits of software that are created to run the original games EXACTLY how they would have played back when they were created all those years ago, even down to the coin operation. One in particular is MAME – the Multiple Arcade Machine Emulator – and when set up correctly can play every single arcade game that’s ever been made since they first began. It doesn’t emulate the game itself: it actually recreates every part, every physical transistor and resistor etc that would have been on the original board. How nerdy.
Nearly 3000 arcade games, and they were now on the arcade machine that was sitting in bits on my floor. Another part to test was what is called the ‘front-end’: a program that allows you to choose a game – another clever piece of software, this one’s called GameEx.
Time to build. Ohh the tension! With the ‘stick it, drill it, screw it’ approach all dialled in, Brad and Steve made fast work of getting the huge bits of plywood back into an arcade-shape shell. Of course, this was helped immensely through the fact that Brad had handily marked each piece of wood, with sensible markings of ‘cocksucker’.
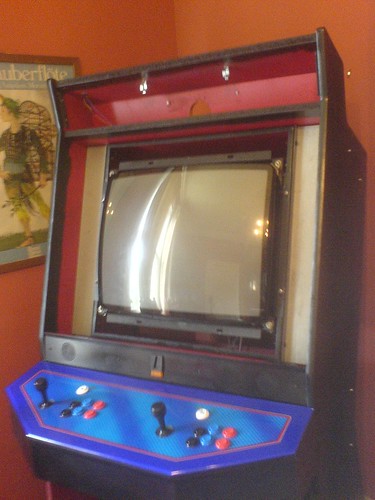
Midway, we transferred it from yet another jubby shed to indoors, and finished construction. After some touching-up (of paint), the screen, speakers and PC were mounted securely inside the machine’s interior.
It was starting to look awesome.
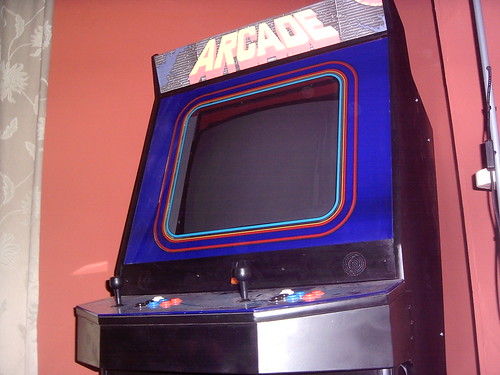
I wired in a hidden button to turn the whole thing on and off, added a light to the coin mech (slight overkill), a box to collect money (make money-money) and finished the remaining wiring with a special multi-plug extension. The finishing touch was printing a new ‘marquee’ for the top of the machine, and adding a strip-light to illuminate it.
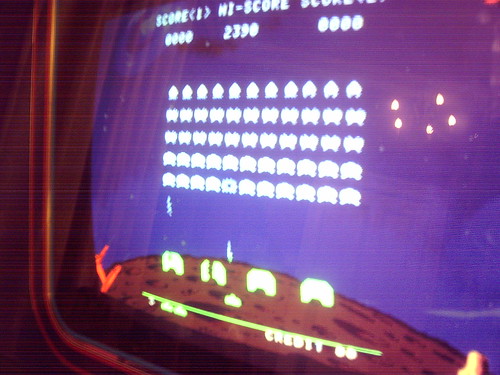
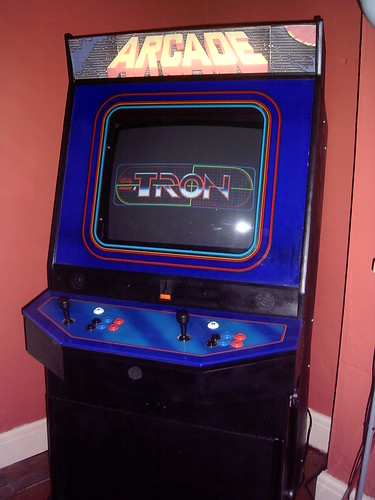
We could then step back in wonder. The Great Build was over, and what was once an old pink arcade machine with one game, was now a mighty behemoth of a system, with so much technology and yet so much authenticity. And no one had died!
And of course, so many games – enough to last a lifetime. Because, you see, I couldn’t stop at just all the arcade games. The Arcade Machine also has every single
- Atari 2600
- Master System
- Megadrive
- Nintendo
- Super Nintendo
- Nintendo 64
game ready to play, as well as a bunch of Dreamcast and Playstation games.
And being a weirdo collector-type, every game has its images of its original artwork, cabinet, motherboard, flyers and control panel. Yeah…
It’s also got a bunch of games for outdated consoles that you can’t actually play (like the Intellivision) which I got ‘just because I could’. I guess that says a lot about me.
But you know what? One of the only games that doesn’t actually work emulated, is:
Die Hard Arcade.
Bummer. Well, I guess you just can’t beat the original hardware! Good job I also own that too…
Parts list and Estimate cost
- Arcade Machine £50
- Petrol (for Manchester) £40
- J-Pac £40
- Buttons £20
- Wiring £5
- Crimping tools £5
- New JAMMA connector £10
- Replacement wood panels £10
- Paint £20
- Nuts and Bolts £2.50
- Brackets £2.50
- Striplight £10
- Powerstrip £10
- Software £10
- Speakers £15
Total approx. cost for super mega fun: £250
And worth every penny 😀
But what’s next? I’d love some lightguns…and a cabinet with a wheel for racing games…
And you know…if anyone else wants one – I’m totally up for building another…
Thanks for reading…


Cool blog 🙂
just….awesome….nuff said.
Nice pics man! Looks like that turned out really great!