
Let There Be Light!
It has to be said that I am more of a destroyer than a creator. I am much more at home taking things to pieces than I am creating something new. I do however have my moments, and this week was a particularly good moment.
I took a weeks leave from work and set about doing all the things you do when you are not working. Sorting through old cupboards, beating it, giving the house a good clean, beating it, a spot of decorating, more beating it and making a NES Zapper into a lamp. Yeah that’s right. I said making a NES Zapper into a lamp!
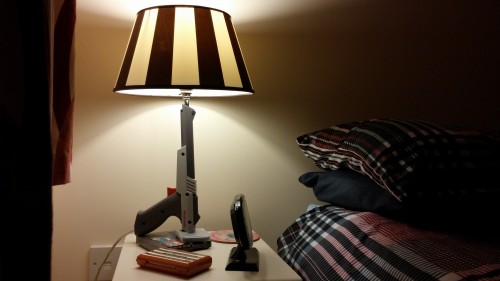
Now I am not afraid to admit that I am mega proud of this one. In fact I would be hard pressed to pick a favorite between the Lamp and the Zombie Box.
So here comes the science part. First off I broke a lamp. This gave me all the light based gubbins I would need.
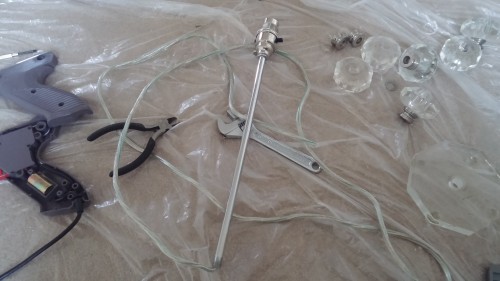
After the lamp had been killed to death I set about the careful deconstruction of the Zapper. My aim was to have as little impact on the frame of the gun as possible. I wanted to keep the option open to convert it back to a light gun should I ever want to – I am happy to report that this is possible!
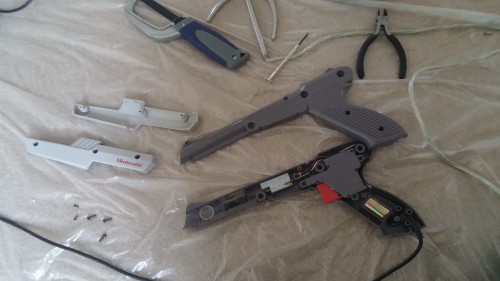
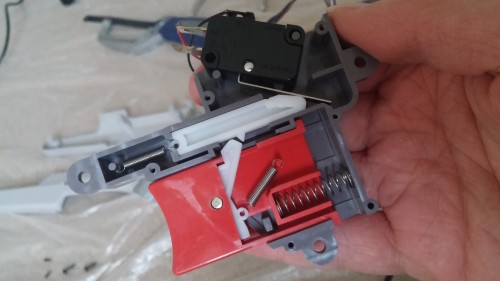
Taking the Zapper apart not only gave me spares for my other Zappers but also let me get a good look at that super satisfying trigger. I wanted to keep this functional in the lamp. Ideally I wanted it to be the on/off switch.
Once the Zapper had been gutted I needed to cut the lamp pole thing down to size. It needed to be long enough to support the bulb and shade, but short enough to fit in the barrel of the zapper. I took a quick look at the lamp pole, had a glance at the barrel and then I cut a chunk off the pole – Luckily it was the perfect fit.
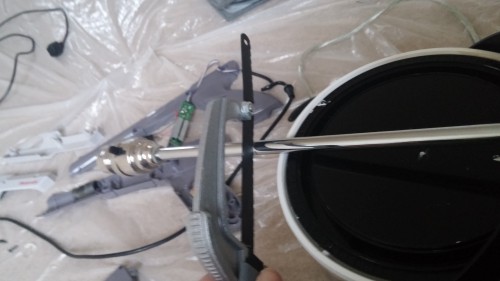
The plan was to use a NES cart as the base for the Zapper Lamp. There could be only one cart for the job and that cart was Duck Hunt! I sacrificed one of my many copies of this glorious game and drilled some holes. These holes would be used to screw the Zapper to the cart for a secure and professional finish.
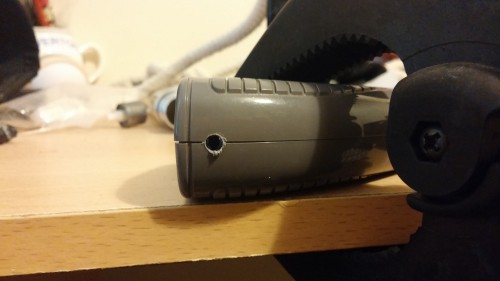
I was now ready to start putting everything together. I gave the main body of the gun a go on its new base. This revealed the gun to be sitting somewhat on the piss so corrective action was required.
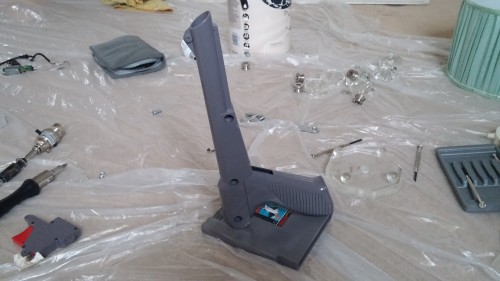
Whilst I considered my options to straighten things up, I set about running in the lamp bits. The grooves in the barrel that used to house the lens came in real handy for keeping the lamp straight in the gun. I popped a washer in place of the lens and used an exact amount of black tape to fix the lamp pole in place.
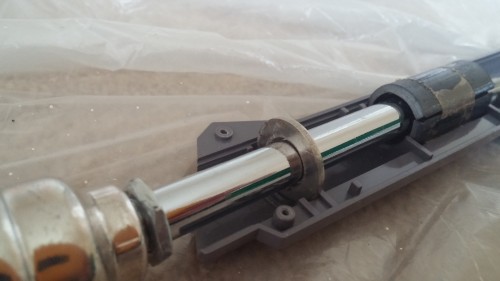
Next I ran the cable through the gun and secured the trigger back in place. Sadly I could not get the trigger set up as the switch for the light. Not yet anyway…
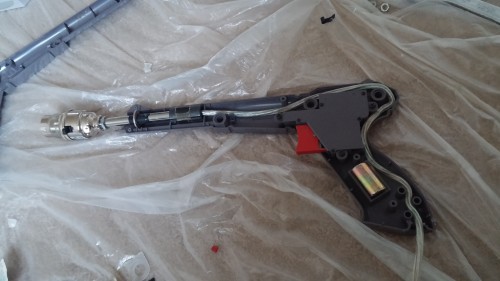
Once everything was screwed back together and locked down to the base. It was time to give a test! I over came the bentness by popping a cheeky little Game Boy game under the bottom of the shooter. It turns out they are the perfect height and, in my opinion, add to the greatness of the lamp.
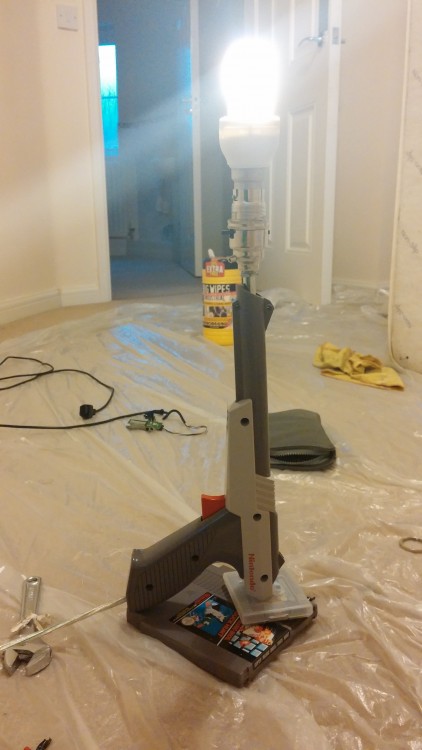
All it needed now was a new shade and we were done. My excitement was hampered slightly by my the one error I made. Once I had finished this fine piece of Nerd Porn/Art I made the fatal error of showing it to a girl. She described it as “kind of cool but also really ugly.” (like your mum!) She then went on to add that this was a worthwhile use of my time off! – a comment heavy-laden with sarcasm. I did what every self respecting proud nerd would do. I told her to piss off and went back to enjoying my new lamp.


That’s pretty fucking cool. I am also torn between the Zombie box and the lamp. Probably have to go with the Zombie box though, as it offers significant protection in a fight (I figure the lamp is good for a single swing).