Project SKIPPER – The Beginning
Growing up I was lucky enough to be surrounded by technology. Between my Electrical Engineer of a Father and my highly technical, and somewhat nerdy, Grandfather I was granted detailed access to everything from arcade machines to CB radios and more.
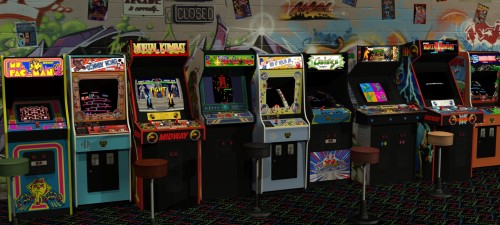
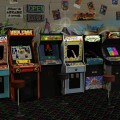
As I got older my friends also contributed to the mix. We set up LANs for gaming, messed about with software applications and built many a bad-ass gaming PC. We also made a circa 300 mile round trip to pick up the shell of an old arcade machine – then we made it work again before turning it into a monster MAME rig!
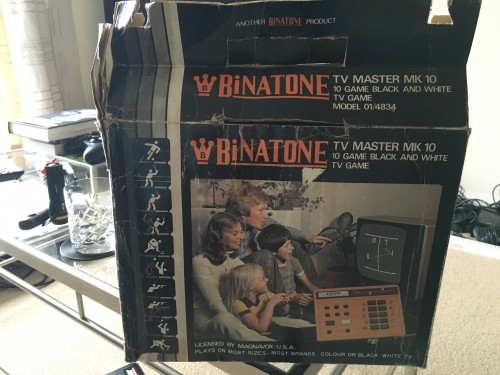
One of my earliest memories of tech is when Grandfather (or Pappy as he was known) produced a PONG games console. Now I can’t be sure if he made the thing from scratch or not, but to 4yr old me it was the best thing ever. In my mind he had made the whole thing and was a computing God. We tuned it in to the TV, set the paddles so the ball wouldn’t fly clean through them and got our game on. To this day I can still vividly recall the strange hammered green metal that housed all of the electrical innards. He is the reason I own a Binatone TV Master 10. It is not even close to an original PONG machine but it reminds me of that day.
It is the experiences outlined above that led me to where I am today. My ingrained interest in technology led me to the Raspberry Pi. Mix that with the engineering input from my Pappy and my Old Man, throw in the countless projects completed alongside some of the greatest men in history and there was to be only one outcome
A Raspberry Pi Powered MAME Arcade Machine!
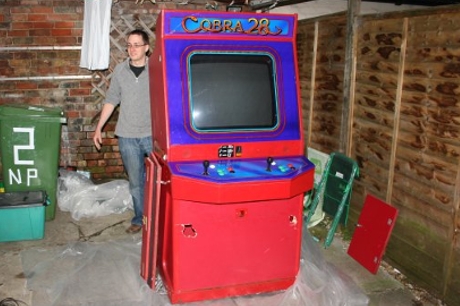
This couldn’t be your usual upright style of arcade machine. We already have one of those in the collection thanks to Fen and the epic drive to Manchester– You can read all about that here. Despite wanting an upright of my own since the day we started on Fens I could not bring myself to build one. I had to push my limits. I had to build a cocktail cabinet – from scratch!
I was convinced that if I split this up into 3 stages I could get it all done in around 6 months. My plan was simple – 1 wire controls up to Pi. 2 build cocktail cabinet. 3 place Pi in cabinet. How hard could it be?
I got off to a good start and ordered up a Raspberry Pi 2 Model B. It was not long until I had it playing all the old classics. This was all down to PiPLAY. A super cool package that allows you to get MAME up and running on a Pi with minimal effort or knowledge of Linux – Double win!

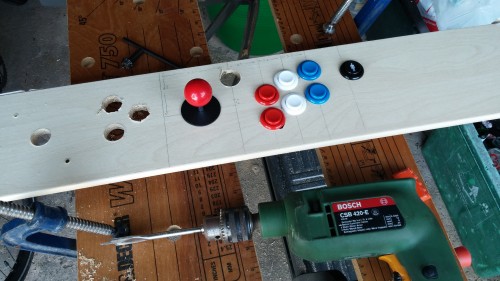
With a working instance of MAME in place I moved on to the controls. Fen had been kind enough to gift me an I-Pac board that would map the inputs from joysticks and buttons to keyboard inputs. This meant all I had to do was wire in all the micro switches to the correct places. Simple – right?
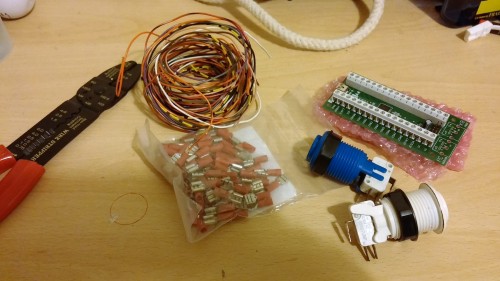
Well – no. Once I had got hold of the right sized spade connectors it was pretty easy to wire all the buttons and joysticks up to create some working control decks. The I-Pac was preconfigured to work in MAME so all the button press combinations to select games and the like were all ready to go. Ross was kind enough to risk his sight (and life) as I got to grips with drill bits that cut big holes in wood. It was not long until we had a working test board in place. The problems came with the coin mech.
I really wanted this machine to be token operated and that meant installing a coin mech. My first obstacle was power. The Pi has none. That is not entirely true. You can use the GPIO to get 5v but I needed 12. This lead nicely on to obstacle number two – The I-Pac took 5v input signals and the coin mech pumped out 12v. Not ideal. I tackled the first issue by wiring the mech up to a 12v power adapter I had lying around the house, I think it used to power an old router. Next I spent a few hours at my Dads place when he came up with the Zener diode. This little bastard would knock my 12v output down to a more acceptable 5v. A quick bit of wiring later and we were there. Check it out!
So there I was, a few months in and I had a working arcade machine without a cabinet. Feeling pretty pleased with myself I played a game of Donkey Kong, powered everything down, took off my headphones and started to think about wood. Wait a second! Took my headphones off?! Yeah that’s right – I had forgotten about the bloody speakers. The whole time I had been using headphones plugged directly into the Pi’s 3.5mm audio jack. You can’t be playing in headphones! This needed to be addressed, and fast!
Now I confess, I did make this part a little more difficult then it needed to be. I have a pair of old Kenwood S-62 speakers that used to belong to Pappy. The amp that used to drive them had recently gone to the great WEEE recycling centre in the sky and I was just itching to find a reason to reuse them.
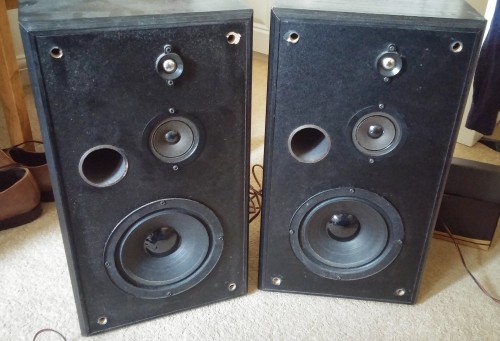
My problem was getting these two 70w speakers into the cabinet and running off the 3.5mm audio jack. The audio out on the Pi is unamplified so the speakers were virtually silent when rigged up. Even when connected to an amplified source, an MP3 player, they were still too quiet. If I was going to use these speakers I was going to need a small, efficient and powerful amp – Time for another trip to my Dads kitchen.
It turns out compact and powerful amps are not cheap. However, if you are willing to get your solder on, you can build a conveniently tiny and powerful one of your own. So that’s what I did. To be more accurate I should say – After popping a few capacitors and melting the odd bit of PCB, that’s what I did.

With this little baby powered up the speakers were plenty loud enough when it came to pumping out that 8bit goodness. Overkill? Maybe. Satisfying? Oh yeah.
So NOW I had all the working parts of an arcade machine I could go back to thinking about wood…
To Be Continued.


Comments are closed.